US
USHow to Prevent Blisters When Hiking
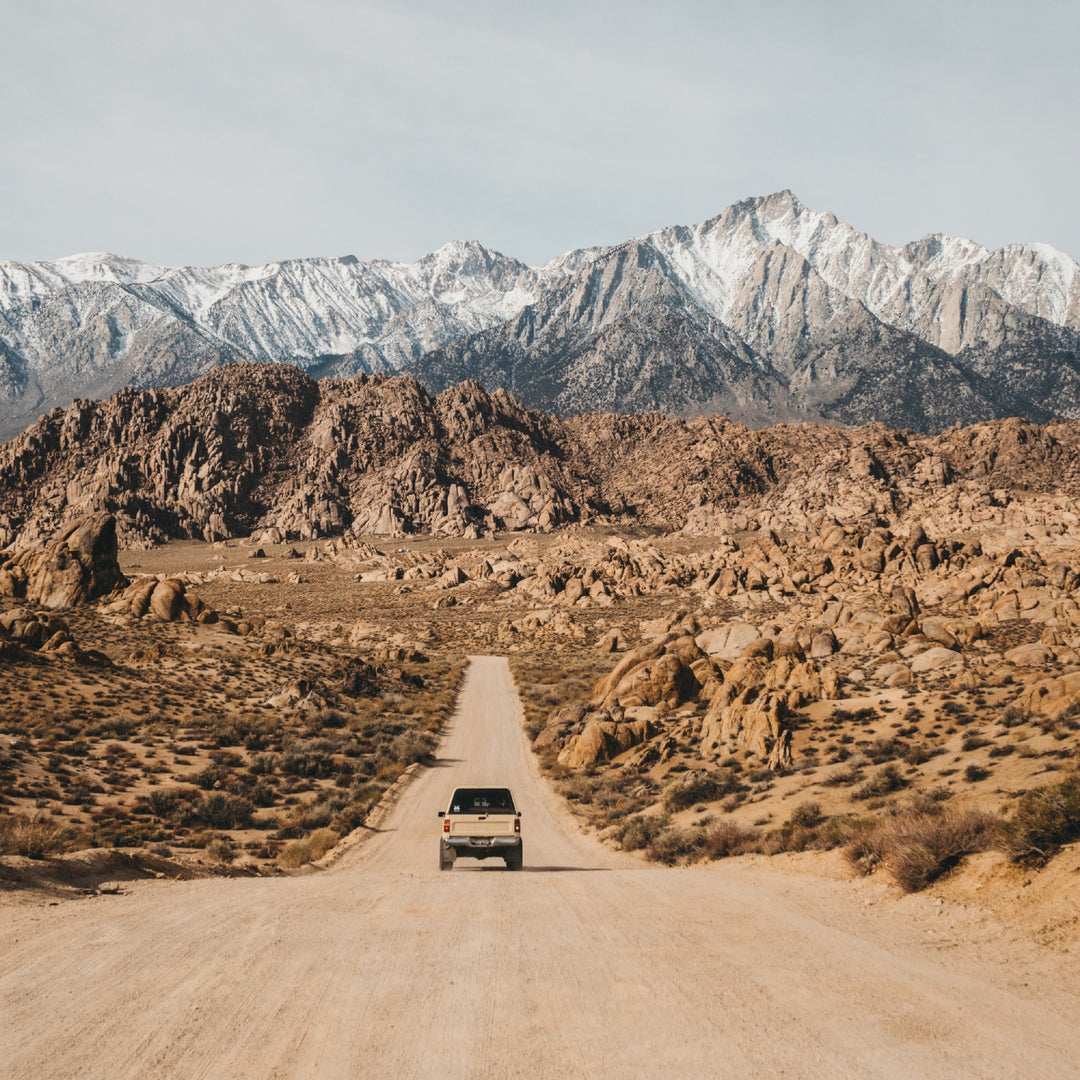
Being located in the heart of Vermont’s Green Mountains, it’s probably not surprising that we have a deep love of hiking here at Darn Tough. If we’re not at our desks sketching socks or on the Mill floor getting those socks knit, there’s a fair chance you’ll find us summiting Camel’s Hump. And like you, we find nothing can mess up our epic summit attempt worse than the discomfort of blisters.
Mastering the art of hiking blister prevention is essential to having a great trek through nature's beauty. Whether you're a seasoned hiker or a beginner, understanding the underlying causes of blisters and learning effective preventive measures is key to keeping your feet happy on the trail, especially after a long day.
We’ve dived into the secrets of blister prevention previously but wanted to revisit the topic specifically with our hiking and backpacking friends in mind.
In this guide, we'll delve into the world of preventing blisters, equipping you with the knowledge to step confidently and comfortably into your hiking journey.
What Causes Blisters?
To understand how to prevent blisters while hiking, you first must understand what blisters are and what causes them to form. Blisters can develop almost anywhere, but if you’re hiking, backpacking, or long-distance walking, the most likely (and perhaps most adverse) location is on your feet.

Blisters are fluid-filled sacs on your skin, and if you’ve ever had one you know how painful they can be. Yet, these blisters are your body trying to protect you from outside forces harming your skin. What are those outside forces? Glad you asked…
Blisters are generally caused by friction, pressure, moisture, and heat. Let’s consider these in reverse orders.
- Heat blisters are characteristic of second-degree burns. Although not impossible, these aren’t typically the blisters hikers are dealing with.
- Moisture – whether it’s moisture caused by rain, sweaty feet, or a stream-crossing you slipped into — isn’t a direct cause of blisters. Meaning if you step in water, you won’t instantly see blisters forming. However, it does make your feet more prone to blisters because the moisture softens your skin, weakening it and increasing the risk of friction.
- Pressure caused by too-tight footwear, a wrinkled sock, or too much material trapped in your hiking boot can create points of friction, leading to blisters.
- If you haven’t guessed it yet, friction is the direct cause of most blisters. Whether that friction is a result of pressure or aggravated by moisture, the buildup of friction caused by your skin repeatedly rubbing against something is the root cause of blisters when hiking.
How Blisters Develop
When you’re out on a day hike or backpacking trip, you can easily create a high-friction environment for your feet. The long distance and physical exertion alone require repetitive motion (walking) and moisture buildup (sweat). Combine that with poorly fitting hiking shoes or boots, a low-performing sock, or a pine needle in your shoe, and you’ve got a recipe for blisters.

Whatever the cause, let’s say friction has started to build up. That friction causes tiny, microscopic tears in your skin. The area will likely turn red and become sensitive or even warm to the touch. We’re not in full blister-mode, yet. Here: you’ve got a hot spot.
Hot spots are the predecessors to blisters, your body’s warning sign that you need to reduce friction on that area. With the proper treatment, you can usually keep a hotspot from turning into a blister.
But say you ignore that hot spot. The friction keeps occurring, the microscopic tears get larger, and the friction finally forces the layers of your skin to separate with one large tear. Your body then floods that area with fluid (called serum), and you’ve got a blister.
The serum is there to protect and heal the damaged tissue, but as long as you continue onward and don’t take care of whatever is causing the friction, the blister will continue to get worse and worse.

What Causes Blisters When Hiking?
The best way to treat blisters is to prevent them from forming in the first place. To prevent them, you need to understand what causes the friction that inevitably becomes a blister.
Some of the major culprits that cause blisters for hikers specifically include:
- Poorly fitting hiking boots or shoes – too tight creates pressure, causing blisters. Too loose causes slippage between your shoe and foot, for rubbing that causes blisters.
- Hiking in shoes you haven’t broken in yet – you don’t know how your feet and these shoes are going to get along yet, so a 10-mile trip in new footwear is not recommended.
- Poorly fitting socks – Socks that slip down, bunch up, and are otherwise loose are socks that create friction.
- Wearing non-hiking socks – Cotton socks soak up and hold onto moisture like a sponge, while regular socks may lack key anti-blister tech features.
- Debris on your feet or in your footwear – you put dirty feet into your socks… or maybe as you walk, you kick up pine needles, rocks, and dirt into your shoes, which happily lodge in place and start rubbing.
- Excess moisture and/or heat – trapped sweat, moisture, or heat against your skin can build up, weakening your skin’s ability to protect against friction.
- Ignoring hotspots – if you leave hotspots untreated, you know a blister is coming your way soon.
How Do I Prevent Blisters While Hiking?
Now that we understand what blisters are, how they form, and the common culprits for hikers, you probably have a good idea how to prevent them. If you read our previous post on preventing blisters, you might remember this simple formula:
Poor Fitting Shoes + Poor Fitting Socks + No Break in Time = Blisters
Proper Fitting Shoes + Proper Fitting Socks + Break in Time = No Blisters

The Right Footwear
Getting footwear that is properly fitted to your foot is imperative. Once you have that footwear, taking the time to break it in with some shorter trips is essential. A short walk might tell you those hiking boots fit a little tighter than you thought they did.
And even if the fit is perfect, new boots tend to be stiff, which can create points of friction if you don’t take the time to let them form to your feet.
But perfectly dialed shoes won’t save you from blisters if you don’t have the right socks. Boots and socks work together to create a wholistic system, and you need all parts of that system operating smoothly for happy feet.
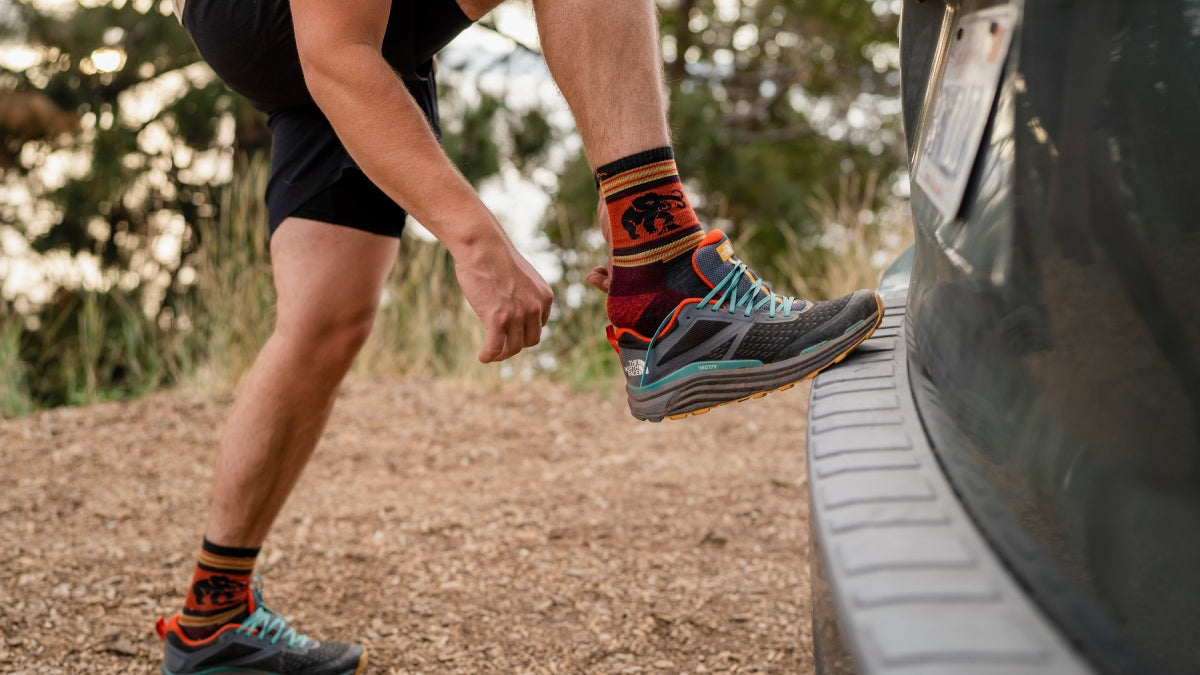
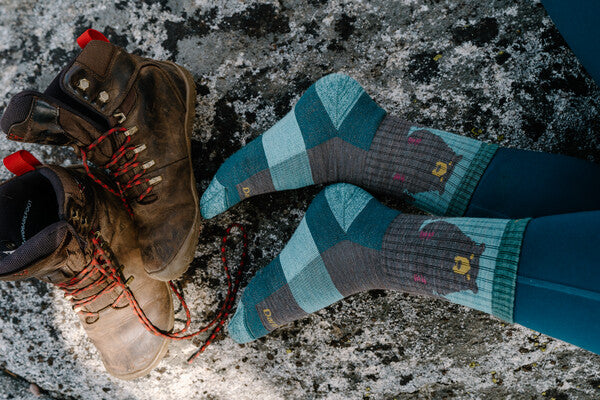
The Right Socks

The best hiking socks prevent blisters, wick moisture, manage heat, and protect against friction in key areas. That’s why we knit our hiking socks with Merino Wool, because it’s naturally great at all of these.
Merino Wool is an expert at managing moisture, wicking it away from your skin to keep feet dry. And Merino sets the standard for thermoregulation – if your feet are hot, this amazing fiber takes action to keep you cool, like nature’s own air conditioning. And the reverse too – if your feet are cold, Merino can hold onto heat, keeping everything just the right temperature.
Another feature to look for in hiking socks is terry loop cushioning. We knit all our socks for hikers with cushion underfoot, around the toe bed, and up the back of the Achilles because these areas typically experience lots of friction in hiking footwear. By strategically placing cushioning in those high-friction zones, we provide extra protection to those areas and help your sock work with your shoes, not against them.
Finally, your socks should have a Performance Fit – aka you want them to act like a second skin. A snug, close-to-skin fit prevents your socks from being a source of rubbing and lets them do their job protecting your feet. That said, socks that are too small can create pressure points. Our size chart can point you toward the right sock size.
Even if you have top-notch, well-fitted hiking socks and proper fitting hiking boots, they may not save you if a misstep gets your footwear system totally soaked. This excess moisture may leave you more prone to blisters despite having taken prevention measures, which is why we recommend packing a spare pair of socks whenever you head out. Just a few extra ounces and you can experience the magic of changing into dry socks. Even if your boots are still wet, we find dry socks make a huge difference.
Start Clean, End Clean

Two parts to this step, and the first one sounds obvious, but it’s worth stating: before you put on your hiking socks, make sure your feet are already clean and dry! It’s amazing how a tiny piece of dirt can feel like a small boulder once it’s trapped inside your sock, inside your shoe. And though Darn Tough socks wick moisture, there’s no point making them work harder than they have to, so give those wet feet a quick towel off.
Now, you may start with clean feet, but Vermont trails are known for their debris. Mud, leaves, pine needles, pebbles… you name it, we got it, and depending on your stride, you may be prone to kicking these up into your shoes and socks.
If you’re a chronic dust kicker, consider choosing taller hiking socks (Micro Crew height and up) and even investing in a pair of gaiters. Gaiters go over your shoes and socks and are like an umbrella for your feet, keeping debris from sneaking in.
If this isn’t a common occurrence for you, you still want to stay aware of intruders and prioritize stopping and removing the offending item as soon as you notice it. Waiting even a few minutes can cause irreparable damage.
Treat Hotspots

This step is so crucial and so easy to mess up. When you’re on the trail, if you start to notice an irritation on your feet, stop. We repeat: Stop!
We get it. You’ve got miles to cover, personal records to break, and you’re sure it’s not that bad, and does it really make a difference if you wait another mile to deal with it?… The answer is yes.
When you feel a hot spot, your body is telling you to act now. And while hot spots are annoying, the blisters that follow can become out-sized problems, especially on multi-day trips.
If you feel a hotspot forming, stop and address the problem immediately. If you can, identify the source of friction and remove it. If you can’t reduce the friction, you can still take steps to protect the area:
- Remove your shoe and sock and find the red area
- Dry the area
- Protect the area – applying moleskin, athletic tape, medical tape, or even duct tape creates protective barrier to stop that hot spot in its tracks.
If you know you’re prone to blisters in a specific spot and aren’t able to fix the root cause (aka maybe it’s not in the budget to buy those new hiking boots yet), you can preemptively apply moleskin or tape before setting out to reduce the chance of hot spots developing.
How to Treat Blisters on a Hike

If you’ve followed the above, hopefully you’ll be able to avoid blisters. But in life, doing everything right doesn’t always yield the desired results. If you do develop a fluid-filled blister on the trail, treat it promptly and care for it diligently. Make sure to pack blister treatment supplies in your first aid kit and replace them after use.
- Clean the area around the blister. If you have biodegradable soap and potable water, use that, but if you don’t have access, an alcohol or antiseptic wipe can do the trick.
- If the blister is very small or if you’ve completed your hike, don’t pop the blister. Remember, your body fills the area with fluid to help it heal itself. Popping the blister increases the chance of infection. In this case, skip to Step 5.
- If the blister is large, extremely painful, or you still have many miles to cover, you may need to pop the blister to make walking bearable. Use a sterilized needle or safety pin to make small holes around the base of the blister.
- Gently press on the blister to force the fluid out. Do not rip off the remaining skin flap.
- Surround the blister with a doughnut of moleskin or molefoam. You want to raise the area around the blister so it’s no longer being directly touched, but you don't want to directly cover the blister. (If you have one, you can choose to apply a hydrogel dressing instead.) Fill the center of the doughnut (where the blister is) with antibiotic ointment.
- Cover everything with tape to hold it in place and prevent debris from entering. Clean and change the dressing daily and check for signs of infection.
If possible, you want to give your foot a rest from all friction to give it time to heal. If you’re thru-hiking, it’s probably a good time to take a zero day.
Techniques That Typically Don’t Work
Blister treatment is sometimes like hiccup cures – everyone has their own home remedy, but few of them actually work. We wanted to call out three common culprits from the hiking world:
- Liner socks: more often than not, you only need a liner sock because your main sock isn’t doing its job. And they introduce extra slippage between your sock, the next sock, and your boots. Darn Tough hiking socks are designed with a Performance Fit that’s meant to be worn next-to-skin, so you don’t need sock liners or toe socks.
- Deodorant: yes, applying an anti-perspirant to your feet may reduce sweating, but it can also cause skin irritation, which defeats the purpose.
- Foot powder: once that powders starts clumping, it’s just like having dirt in your sock – a potential blister-causing source of friction.
TL;DR: the Do’s and Don’ts of Hiking Blister Prevention
Do:
- Get properly fitted for footwear and break it in
- Purchase moisture-wicking, thermoregulating hiking socks
- Treat hotspots as soon as they start to develop
- Clean any blisters, changing their dressing to daily
- Apply moleskin, hydrogel dressings, or available bandaging to blisters to protect them
- Cut your hike short and see a doctor if the blister is large, painful, or infected
Don’t:
- Take long hikes in new footwear you haven’t broken in
- Choose socks made from cotton or other non-moisture wicking materials
- Hike in footwear (shoes and socks) that’s too loose or too tight
- Ignore hot spots “until the next stop”
- Pop a blister prematurely
Happy Feet, Happy Trails

If your feet are happy and blister-free, you’re 50% of the way to a great hike. We hope these tips (and our socks) help you on your journey to feet nirvana. See you out there.